FREE VALENTINE PATTERN
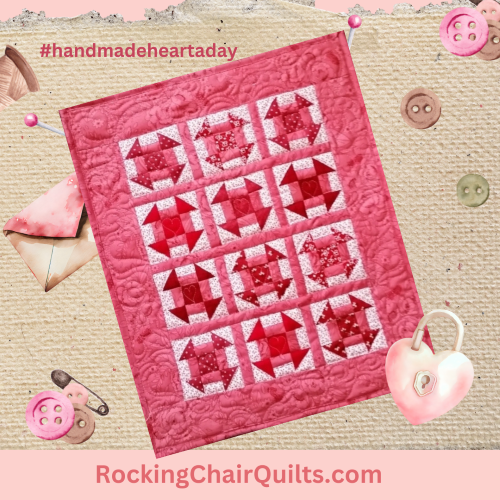
Happy Valentine's! Get a vintage vibe going for @modafabrics #handmadeheartaday 2023, Today we are re-visiting our darling mini Churn Dash quilt pattern. It's a scrappy happy little quilt. These miniature blocks (3" finished) don't need very big amounts of fabric to complete. You can probably find the fabrics you'll need in your scrap box.
A little more fabric is needed for the sashing and borders & binding -1/2 yard should do.
A Fat Quarter is enough for backing on this wee quilt.


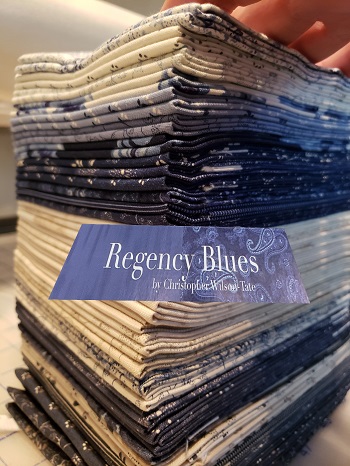
For Valentine's I am starting with a pile of pinks, reds and some lights for background in my blocks. Look at all that delicious Moda Fabric! This mini would be charming made up in brights, low volume, civil war, ....almost any fabric that makes your quilter's heart happy♥
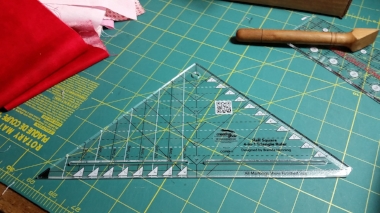
You'll need to make some Half Square Triangles (HSTs) for your mini Churn Dash blocks. In this tutorial I will showcase using the Creative Grids 4 in 1 Half Square Triangle Ruler CGRBH1 to make my HSTs......But you can create your your HST using any method you like for your little quilt. As long as they will finish to 1" x 1" size .
♥♥CHURNING FOR YOU ♥♥
Valentine Mini Pattern from RockingChairQuilts.com
14 ½” x 18” finished Size
Tools: Rotary cutter, straight ruler and cutting mat
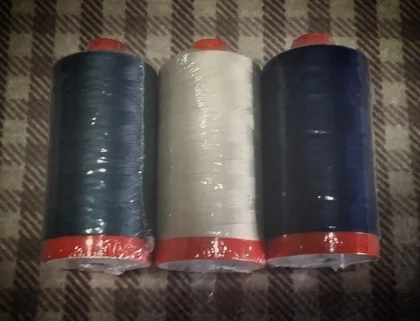
Threads to match or any color of thread that makes you happy today☺
Fabrics:
Assorted scraps for blocks
½ yard for Border, blocks, sashing, binding:
Cutting:
Cut two 2 ½” x WOF (border)
Cut two 2 ½” x WOF (binding)
Cut three 1” x WOF (sashing)
*Cutting sizes for your Half Square Triangles in the blocks may vary depending on your preferred method of making HSTs.
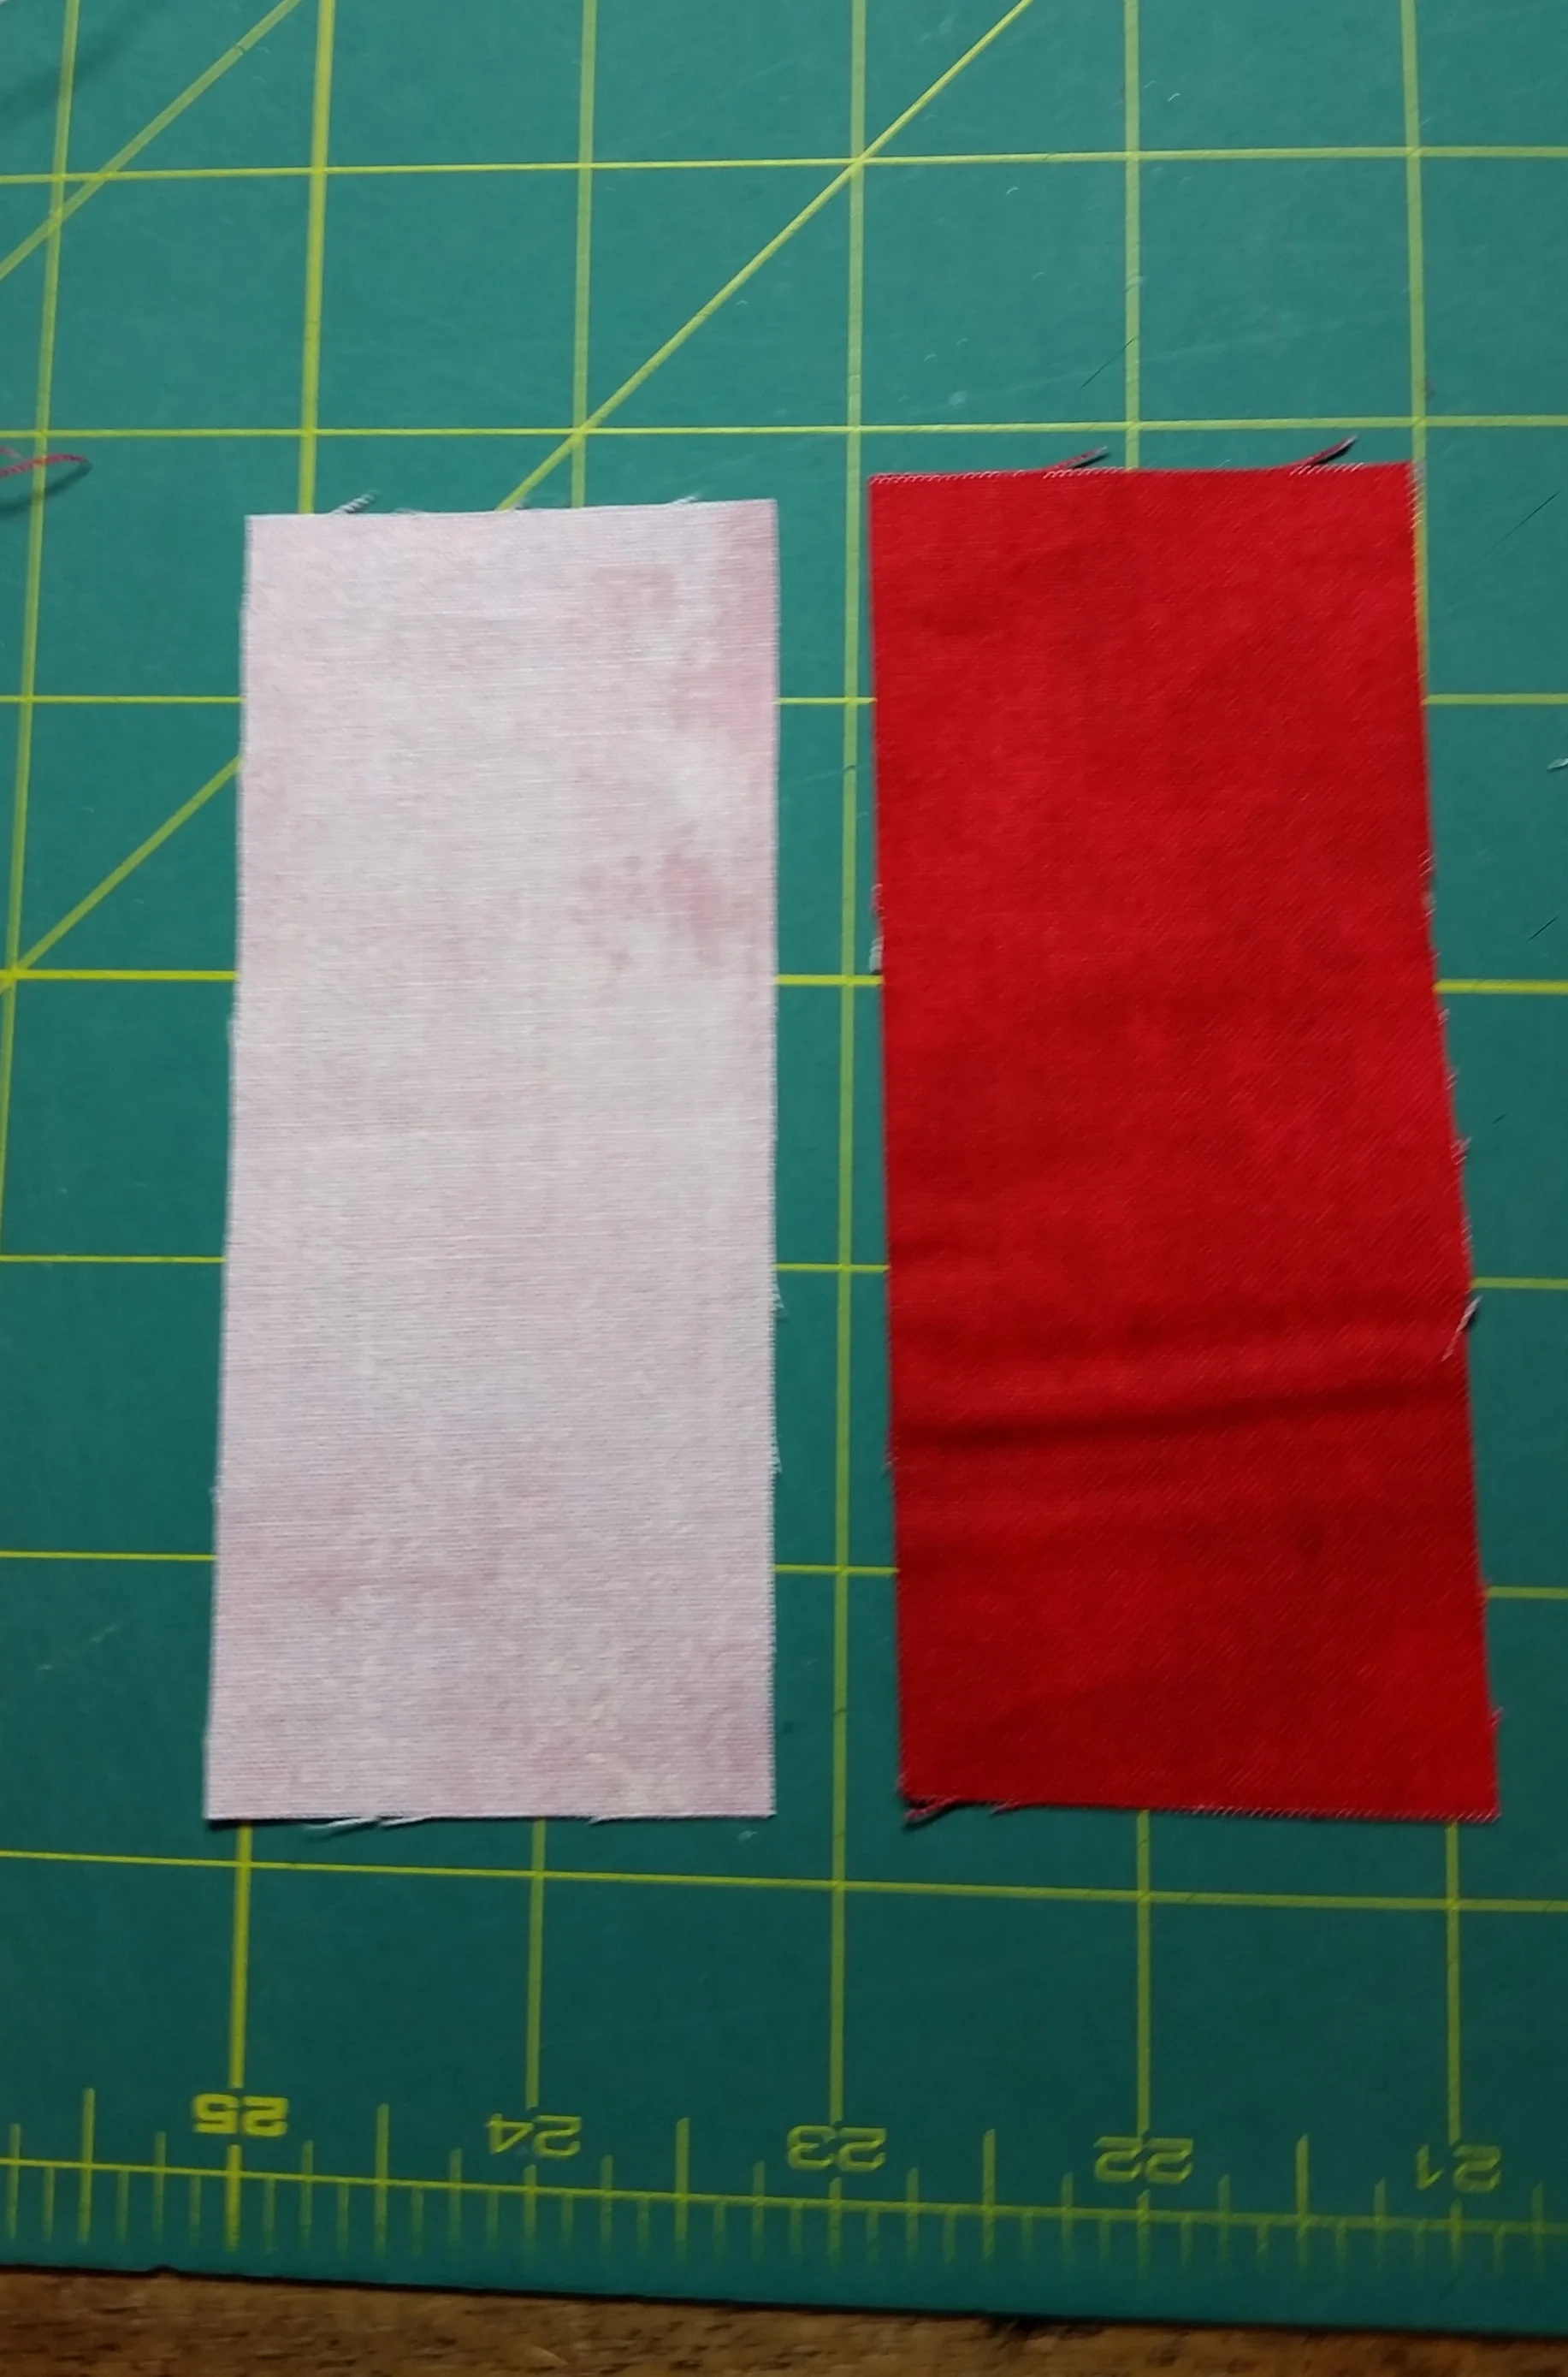
Cut two 1” x WOF (blocks, cut in half at fold to make 4 pieces 1: x 21”)
Background -12” x 21” piece (or can be scrappy)
Cutting:
Cut four 1” x 21” (Blocks)
TO MAKE THE Half Square Triangles for your blocks use one of the following OPTIONS:
Use your OWN preferred method to make the 48 HST units. The HSTs need to finish at 1” square when sewn into your blocks.
If using the Creative Grids® Half-Square 4-in-1 Triangle Ruler - CGRBH1. FOR EACH BLOCK you will need to cut strips of background and prints 1 ½” x 5” and pair them RST then use your 4 in 1 ruler to cut your HST segments (see illustrated steps below) each 1 ½” x 5” strip will make 4 HSTs – enough for one churndash block. If you want 12 different blocks you can use 12 different prints with your background fabric or you could make all your blocks alike and use only one color print strip with your background strips, or any combination in between.
Use triangle paper that makes 1” finished size HST.
Cut three 1 7/8” x 21”, from these strips cut 24 – 1 7/8” squares then cut on the diagonal to make 48 triangles. These background triangles will then be paired with print triangles to make 4 half square triangle units (HST) for each of your 12 blocks.
Blocks – up to 12 different prints - you’ll need a piece 3 x 7 for each block
Cutting:
Cut one 1 ½” square from a variety of prints (this is the center square) you will need 12
See Step 1 under the background cutting. Whichever method you want to use to make 48 HSTs you will need to cut the same size and amount from your variety of prints as you cut have cut from your background fabric.
I used the Creative Grids 4 in 1 ruler so I will cut a strip 1 ½” x 5” for each block I want to make. In my sample quilt, I made two or 3 blocks from each of 5 prints until I had a total of 12 blocks
Backing – Fat Quarter will work for your backing

Sewing:

MAKE BARS AND BACKGROUND UNITS: Using the 1” x 21” background and border strips. Pair a background strip to a border strip and sew with ¼” seam allowance. Repeat to make a total of four. Cut the sewn strip sets into 48) 1 ½” segments. They should measure 1 ½” x 1 ½” when pressed open.
here’s how we used THE CREATIVE GRIDS 4 IN 1 RULER TO MAKe HALF SQUARE TRIANGLES
OR please use your go to method for HSTs


MAKING HALF SQUARE TRIANGLE UNITS (HSTs) Pair each print 1 ½” wide strip RST (right sides together) with a 1 ½” background strip. Use your CGR 4 in 1 ruler* to cut sets of triangles. Chain piece paired triangles using a ¼” seam along the longest edge of the triangle pair. Press open and admire your work ☺*refer to markings on the ruler OR the printed instructions that come with the ruler for placement before cutting
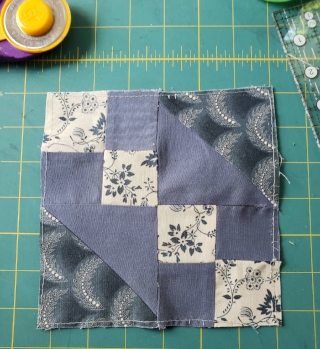
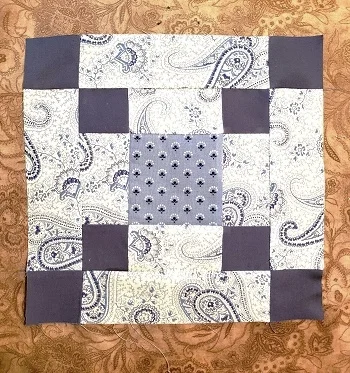
ASSEMBLE BLOCKS:
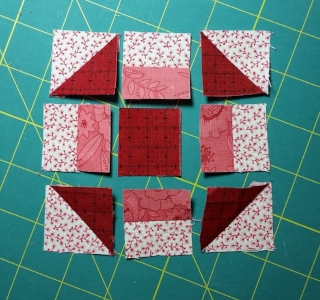
Place one 1 1/2" center square, 4 HSTs & 4 Bars and Background units as shown here.

Stitch together as shown, use 1/4" seams throughout. Press and square up to 3 1/2" (unfinished size) if needed. Make 12 Blocks
QUILT ASSEMBLY:

Layout your blocks in 4 rows of 3, in an arrangement that pleases you. Using a 1” x WOF sashing strip, Cut 8) 1” x 3 ½” pieces. Sew these pieces to the right side of the first 2 blocks in each row. Press toward the sashing. Sew the rows of 3 together and press toward the sashing. Using the rest of the 1” sashing strips sew a strip between the rows as pictured.
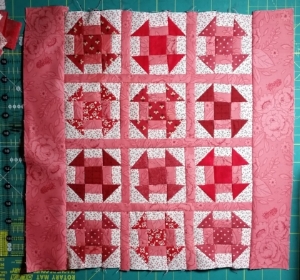
Add the 2 1/2" border strips to the sides, press towards the border

Add the 2 1/2" border strips to the top and bottom. Press to the border. Layer, quilt, bind and then LOVE your quilt♥

If you make this mini , we'd love to see your version, please share a photo with us:
WAYS TO SHARE a photo with us:
Post your photo on Instagram and tag us # rockingchairquilts and #handemadeheartaday
post your photo on our Facebook page- CLICK HERE to get to the Facebook page.
Tweet a photo @makeaquilt or tag us in your tweet @MakeAQuilt
send your photo in an email to us : info@RockingChairQuilts.com
Please use the comments area below for your comments or questions

Thank you for reading, until we blog again, take some time to Enjoy the Sew!® - Carol

SIGN UP HERE IF YOU'D LIKE TO RECEIVE AN EMAIL WHEN A NEW BLOG POST IS PUBLISHED